

HEARING THE WORDS “root canal” can make many patients feel anxious, but understanding the process can make all the difference. Root canal treatment is a highly effective way to save a damaged or infected tooth, relieve pain, and restore your smile. At our practice, we believe that clear information leads to greater peace of mind. Let’s walk through what you can expect during the root canal process and how we are here to guide you every step of the way.
Why You Might Need a Root Canal
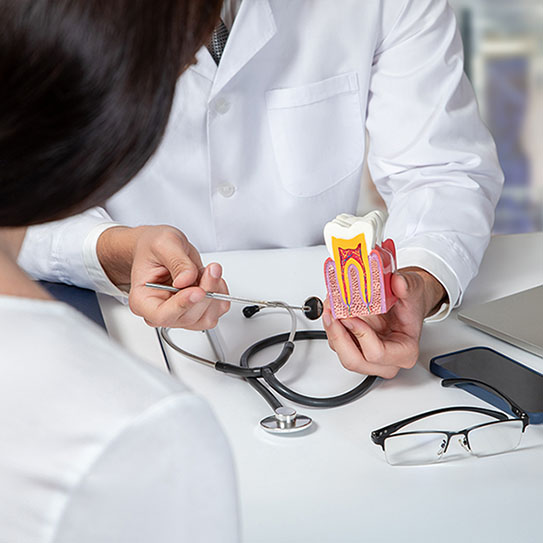
Inside each tooth is a soft tissue called pulp, which contains nerves, blood vessels, and connective tissue. When the pulp becomes inflamed or infected — due to deep decay, a crack or chip in the tooth, or repeated dental procedures — you may experience pain, sensitivity, or swelling. If left untreated, the infection can spread, leading to serious health complications or tooth loss. A root canal removes the infected tissue, saves the tooth, and prevents further damage.
Step 1: Diagnosis and Consultation
The first step is an accurate diagnosis. We start by reviewing your symptoms and taking detailed X-rays or using 3D imaging to assess the extent of the infection. During your consultation, we’ll explain our findings and why a root canal is the recommended solution. We encourage you to ask questions — understanding your condition and the treatment plan helps you feel more at ease and prepared.
Step 2: Preparing for Treatment
On the day of your root canal, we take extra care to ensure your comfort. The tooth and surrounding area will be numbed with local anesthesia, so you won’t feel pain during the procedure. For patients with dental anxiety, additional sedation options may be available to help you relax.
We’ll place a small protective sheet, called a dental dam, over the area to isolate the tooth and keep it clean throughout the procedure.
Step 3: Cleaning and Shaping the Canals
Once you are fully comfortable, we’ll create a small opening in the top of your tooth to access the pulp chamber. Using specialized tools, we carefully remove the infected or damaged pulp tissue. The inside of the tooth, including the root canals, is then cleaned, disinfected, and shaped to prepare it for sealing. This thorough cleaning is crucial to eliminate bacteria and prevent future infection.
Step 4: Filling and Sealing
After cleaning, the empty space inside the tooth is filled with a biocompatible material called gutta-percha. This helps support the tooth’s structure and seals the canals to prevent reinfection. The opening in the tooth is then sealed with a temporary or permanent filling.
In most cases, a crown will be placed on the tooth during a follow-up visit to restore its full strength, appearance, and function.
Step 5: Healing and Aftercare
Most patients return to their normal activities the same day or shortly after treatment. It’s normal to experience some mild soreness for a few days, which can usually be managed with over-the-counter pain medications. We’ll provide you with detailed aftercare instructions to support healing.
Once the tooth is fully restored with a crown, it will function just like your natural teeth. With good oral hygiene and regular dental checkups, a tooth treated with a root canal can last a lifetime.
Saving Your Smile, One Step at a Time
Root canal therapy has a reputation for being intimidating, but with today’s advanced techniques and compassionate care, it’s a straightforward and highly successful procedure. If you’re experiencing tooth pain or have been told you need a root canal, we’re here to guide you every step of the way — toward relief, recovery, and a healthier smile.


